Your Quick Installation Guide Starts Here
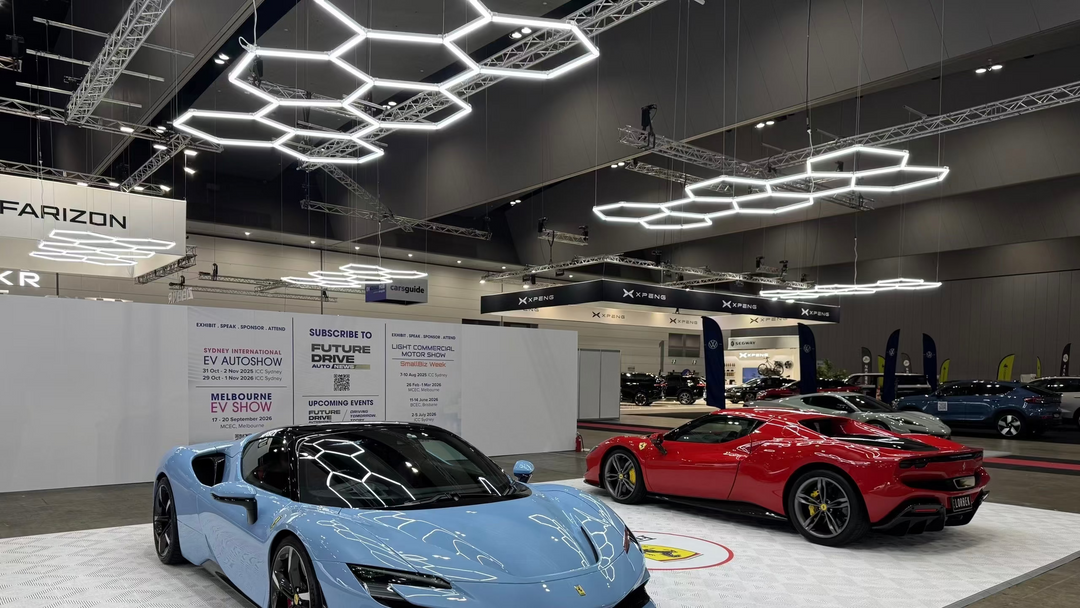
Installing our hexagon LED lights is easier than you think. Whether it’s for your garage, gym, or workspace, our plug-and-connect system ensures a clean, fast, and secure setup. Watch the full step-by-step installation guide below.
Remove protective film on each tube, do not assemble forcefully and test before installation!

STEP 1 Prepare your tools
Ladder (if installing your hexagon ceiling light onto a garage or shop ceiling); Screws for wall or ceiling mounting; Measuring tape or ruler; Drill or screwdriver (for ceiling or wall mounting); Spirit level for alignment; Optional: Adhesive clips or zip ties for cable management

STEP 2 Plan Your Layout
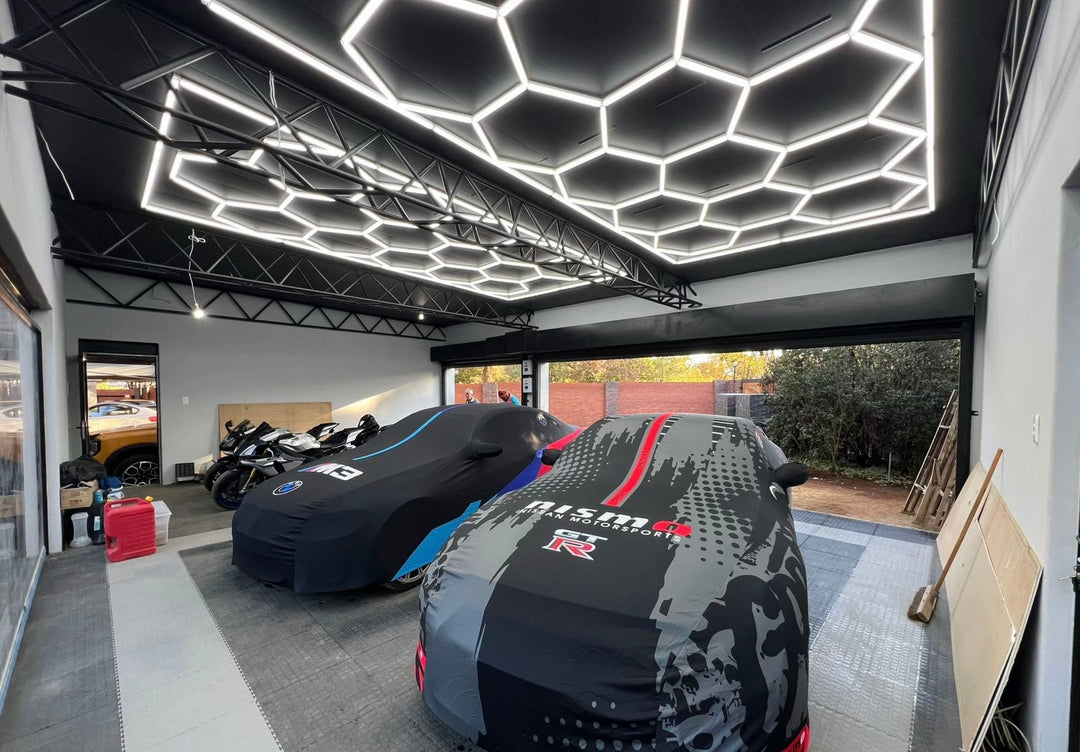
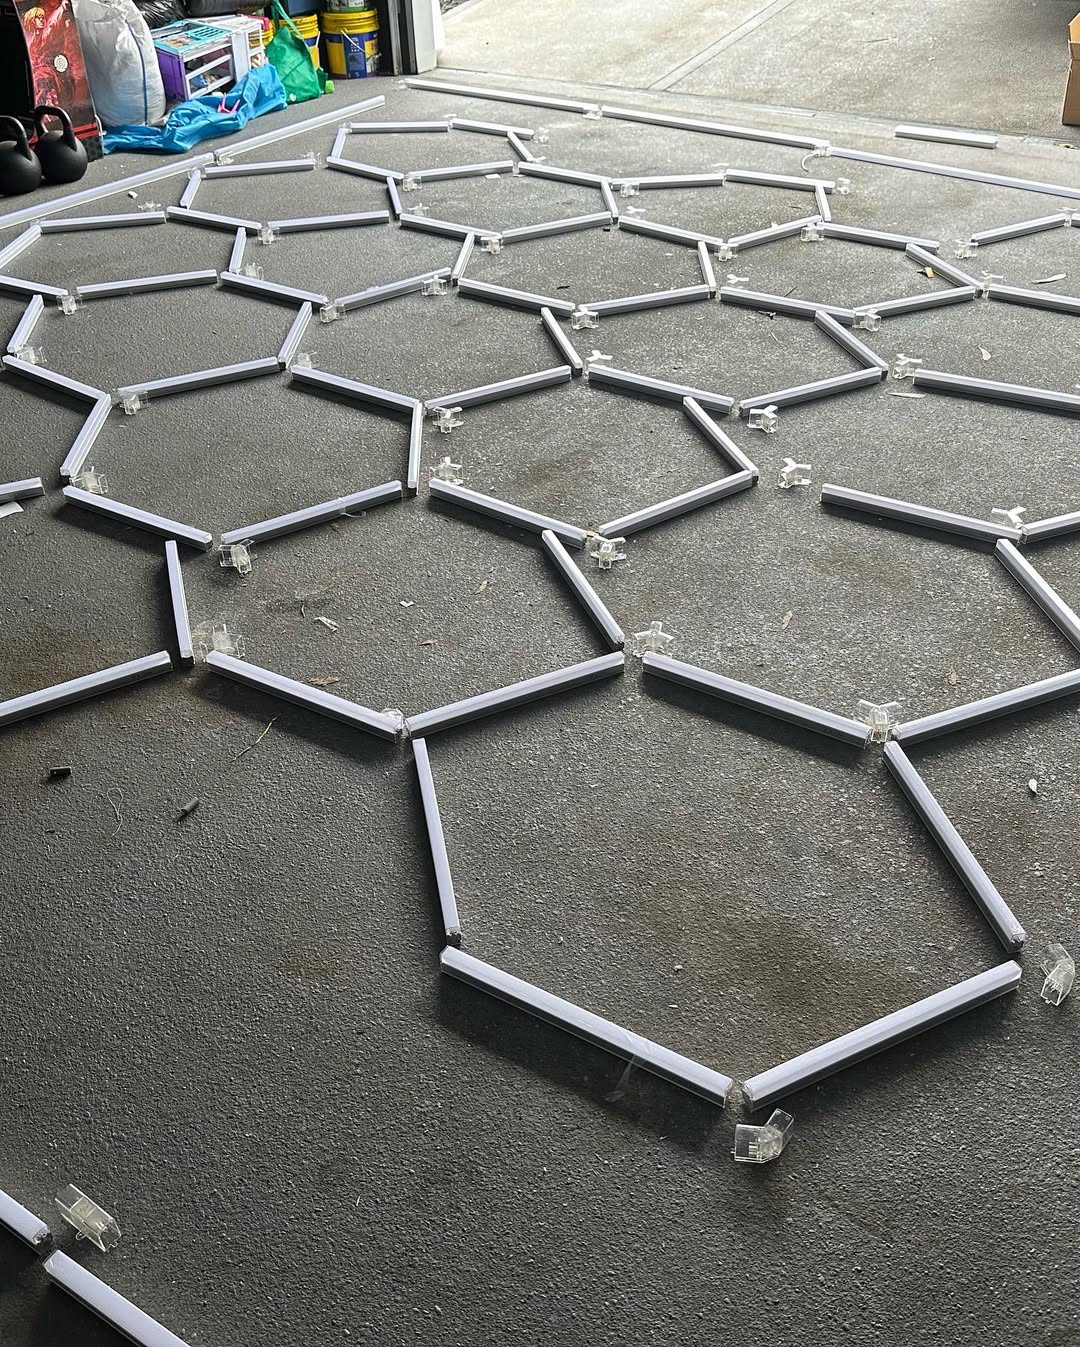
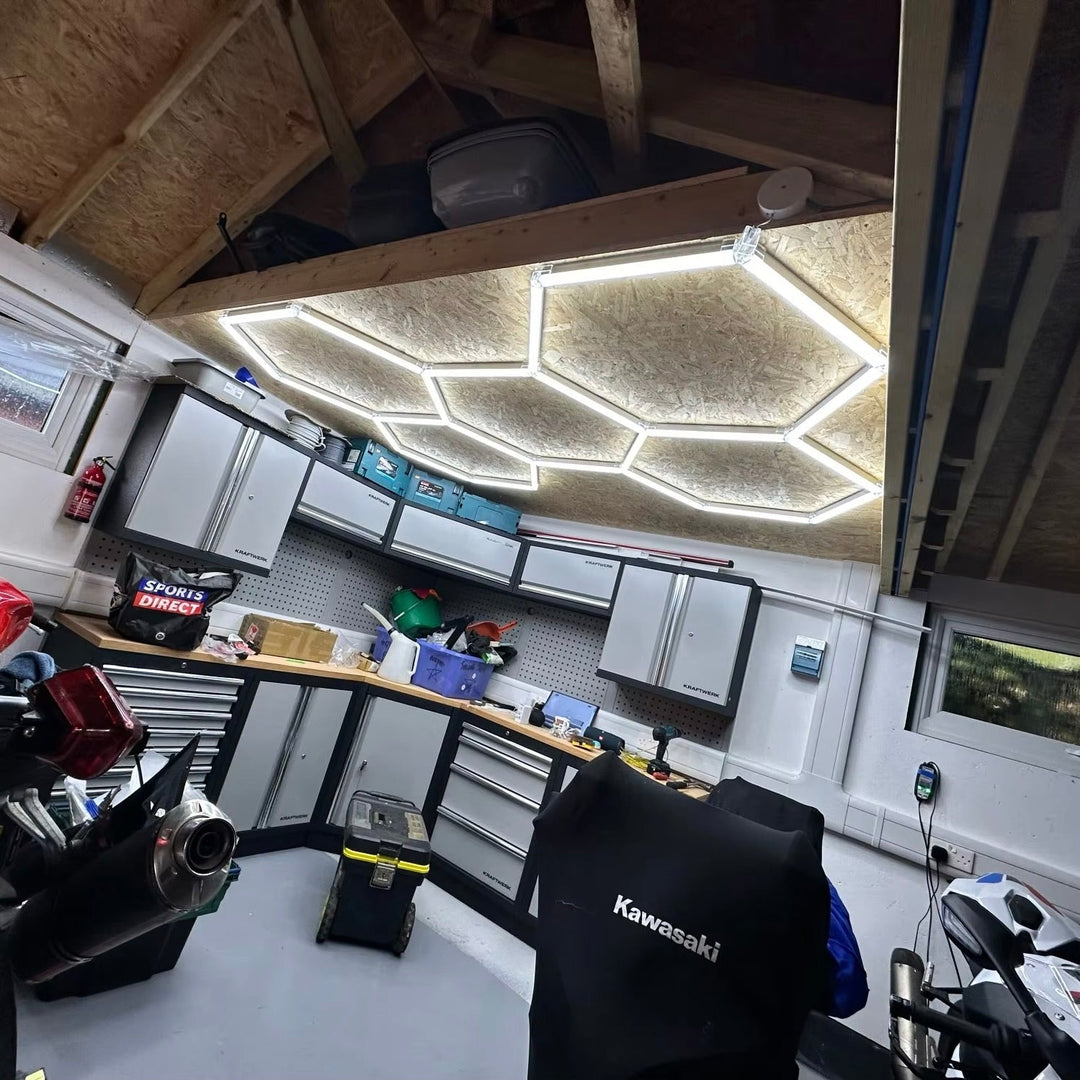
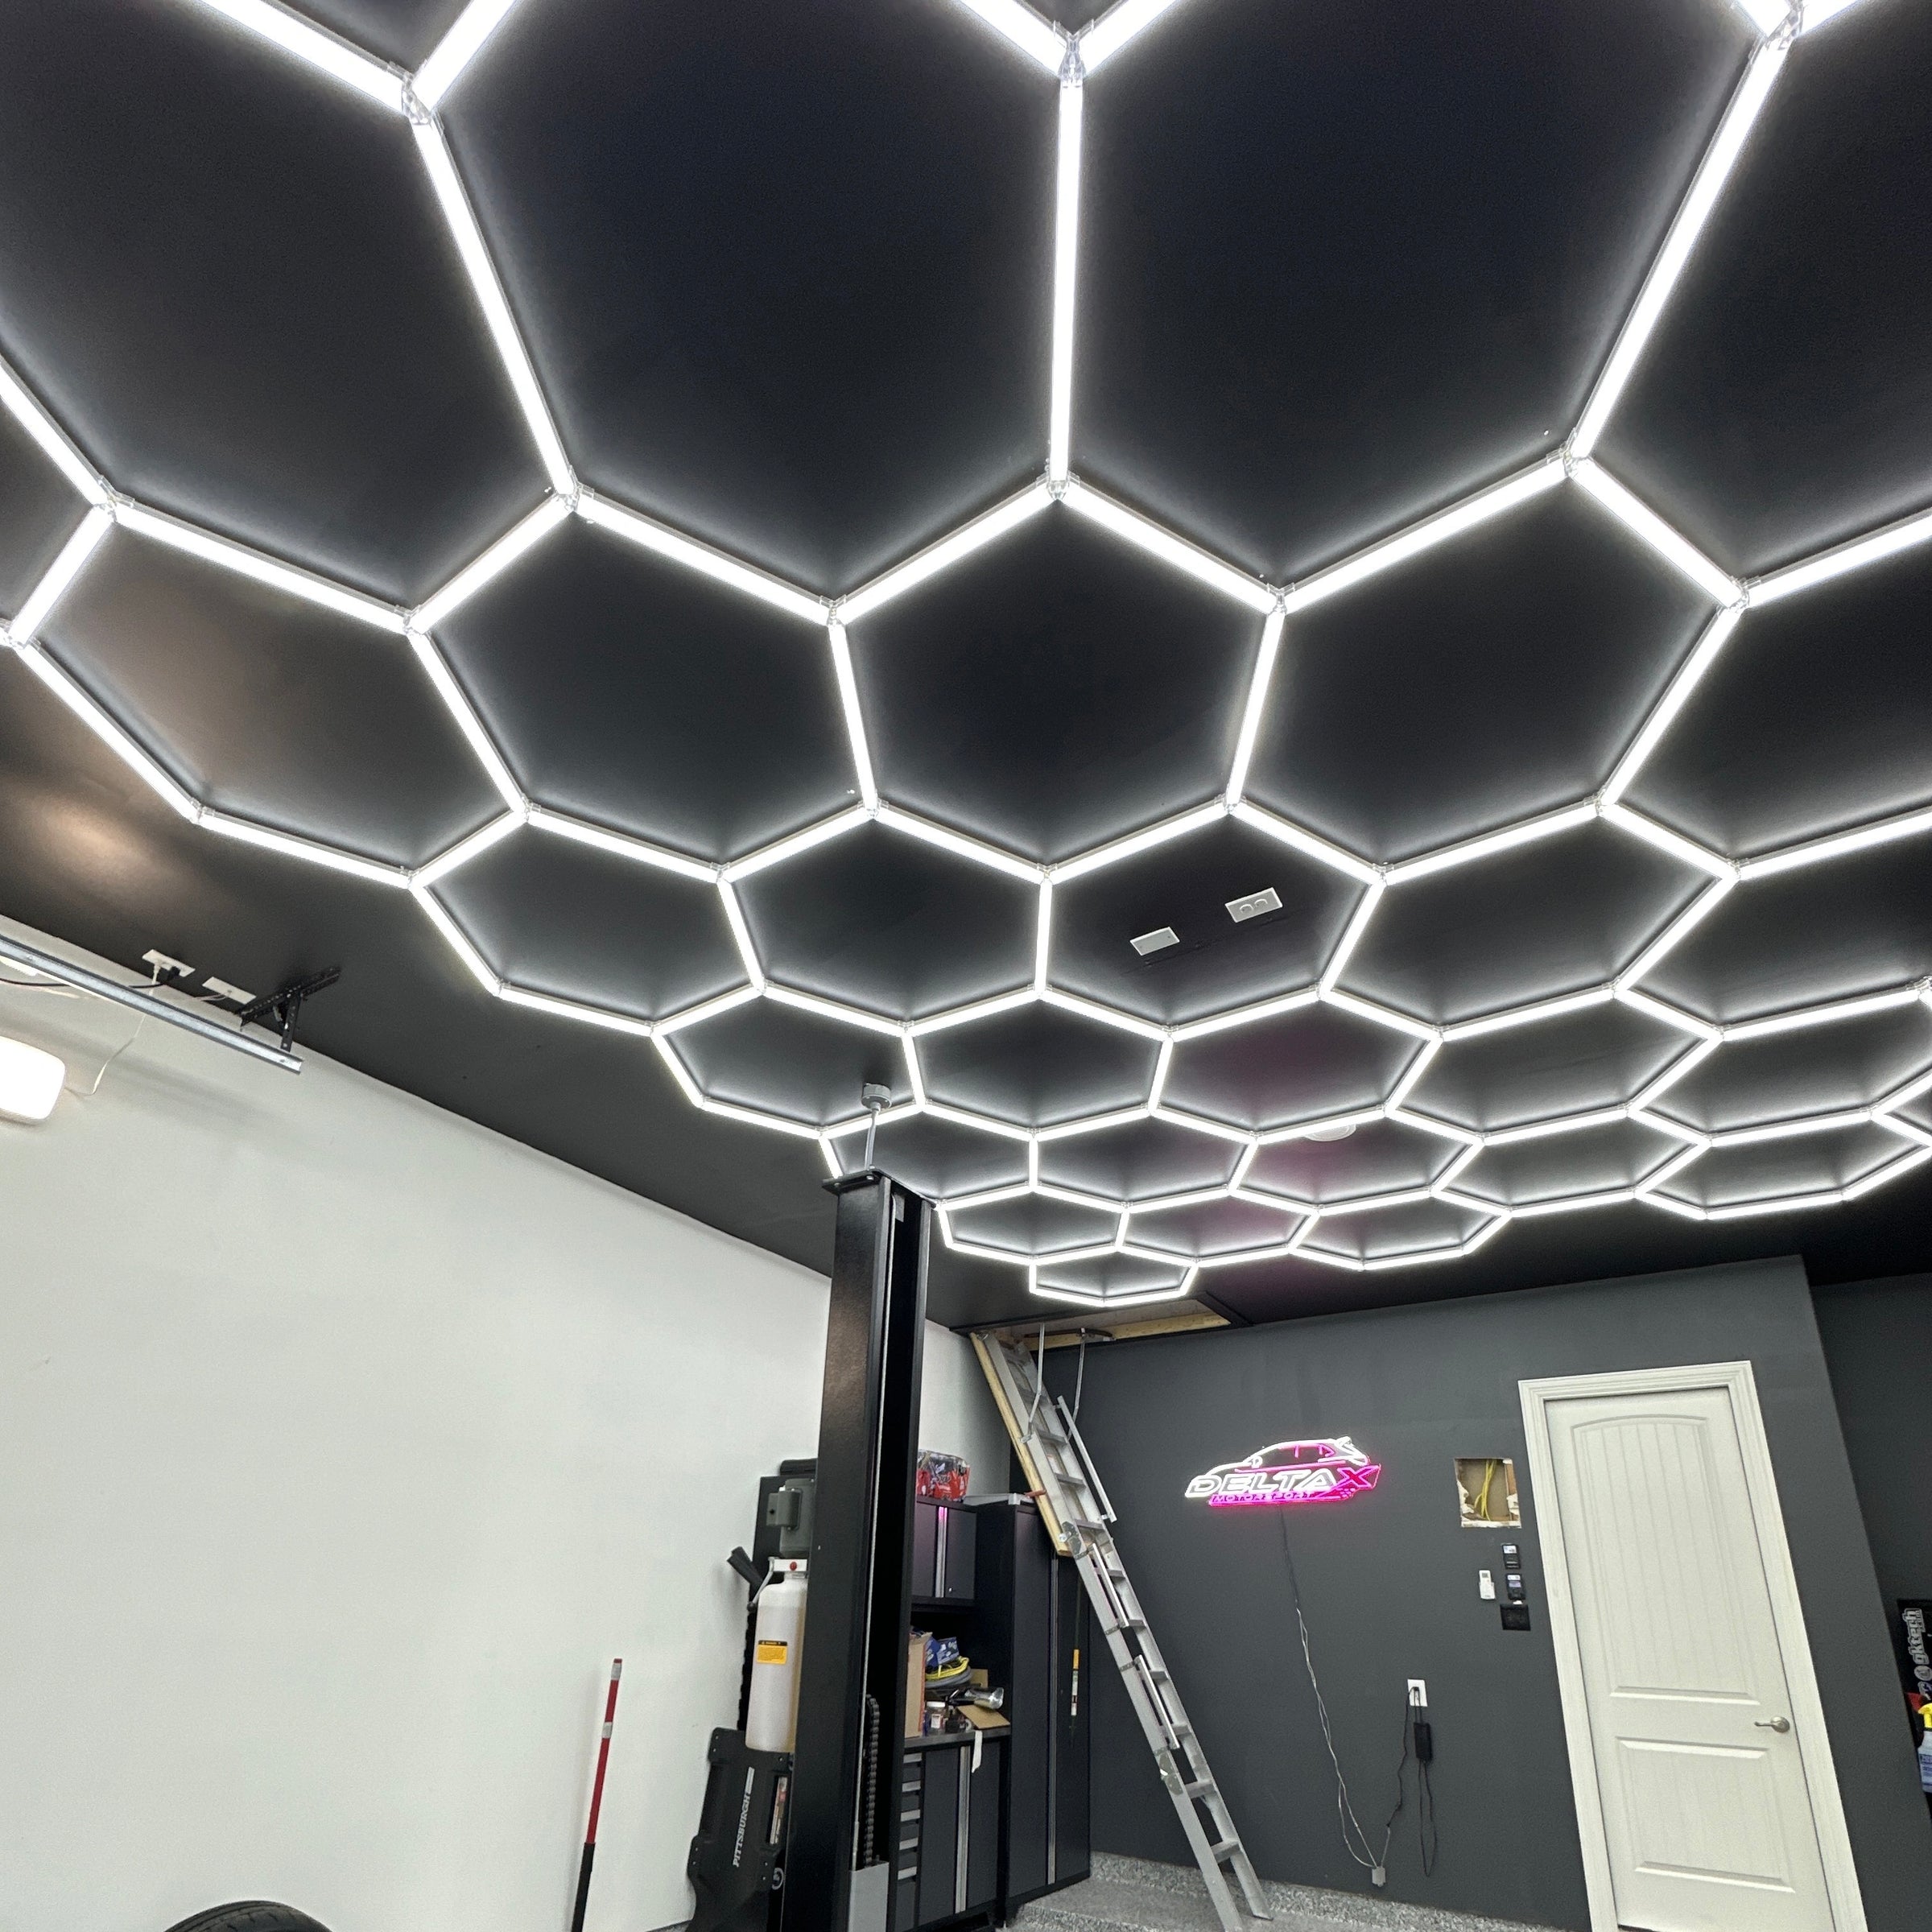
Before installation, lay out your hexagon lights on the ground. This helps visualize your design and ensures all led hexagon lights are correctly aligned. Use a layout sketch or visual tool to optimize placement for your garage led lighting system.
STEP 3 Assemble the Hexagon Light Structure
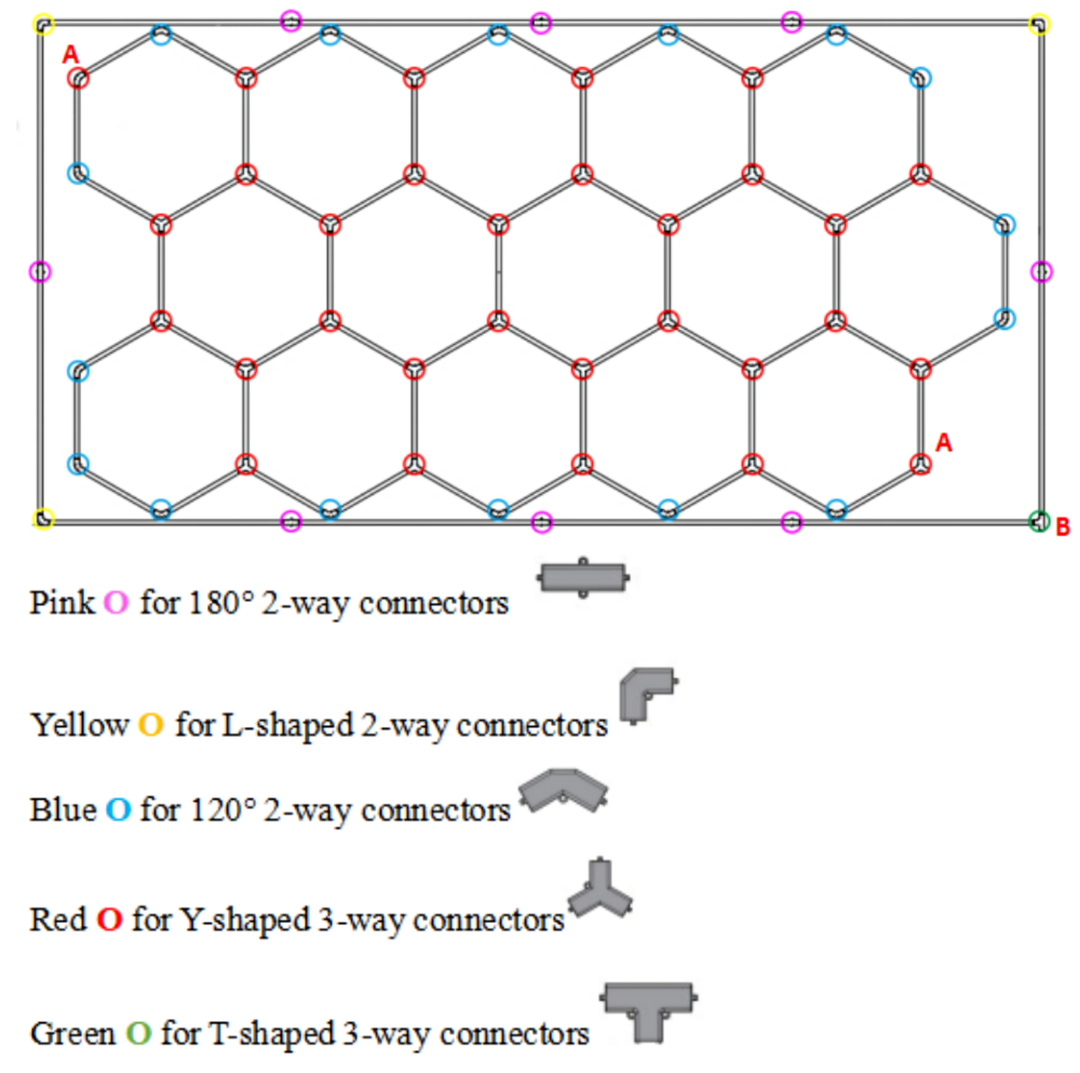
Start with a full hexagon using the straight tubes and connectors from your hexagon led light kit.
Add additional hexagons in columns or rows. Make sure all joints are snug and the pattern is symmetrical.
If using a border, assemble that separately and mount first for structural guidance.
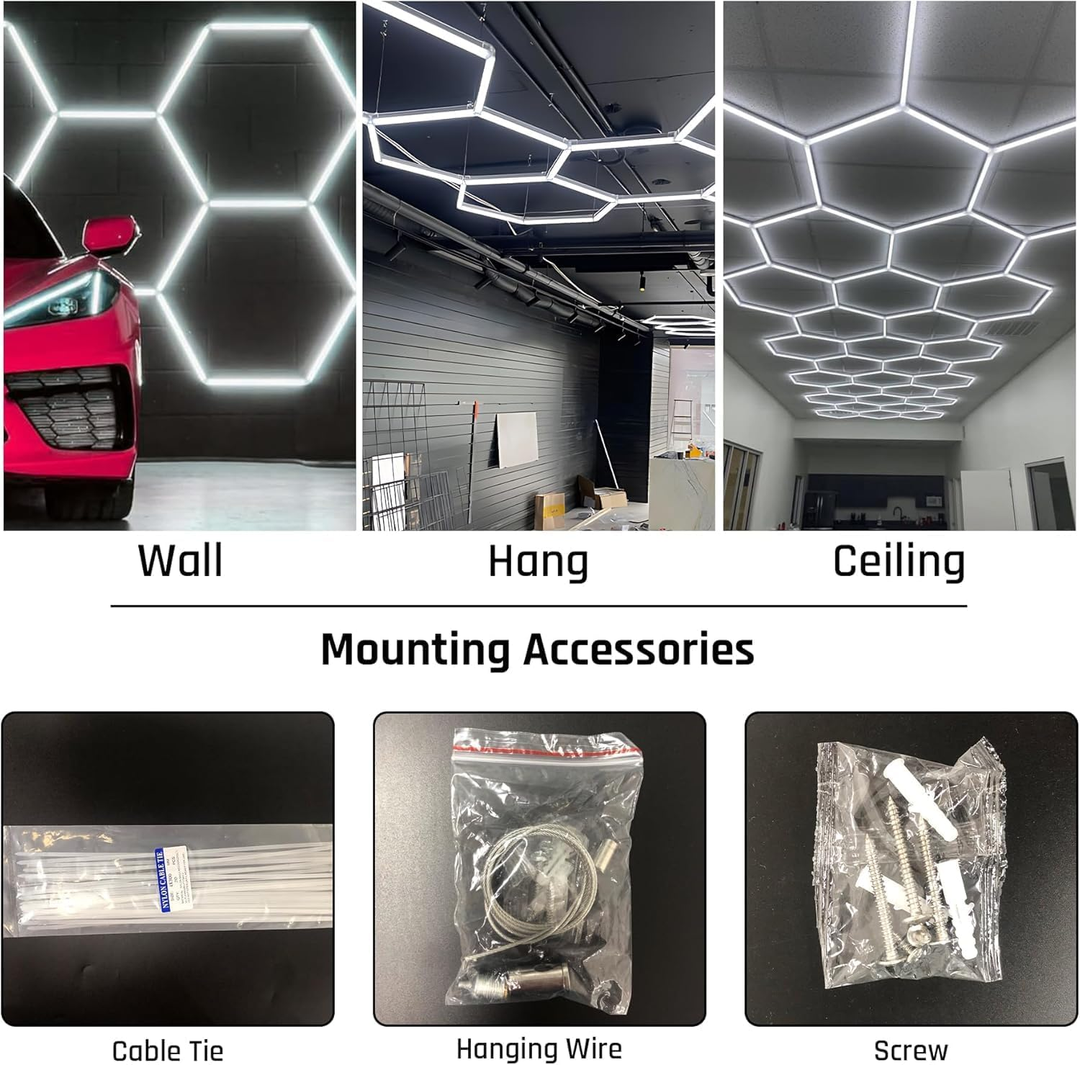
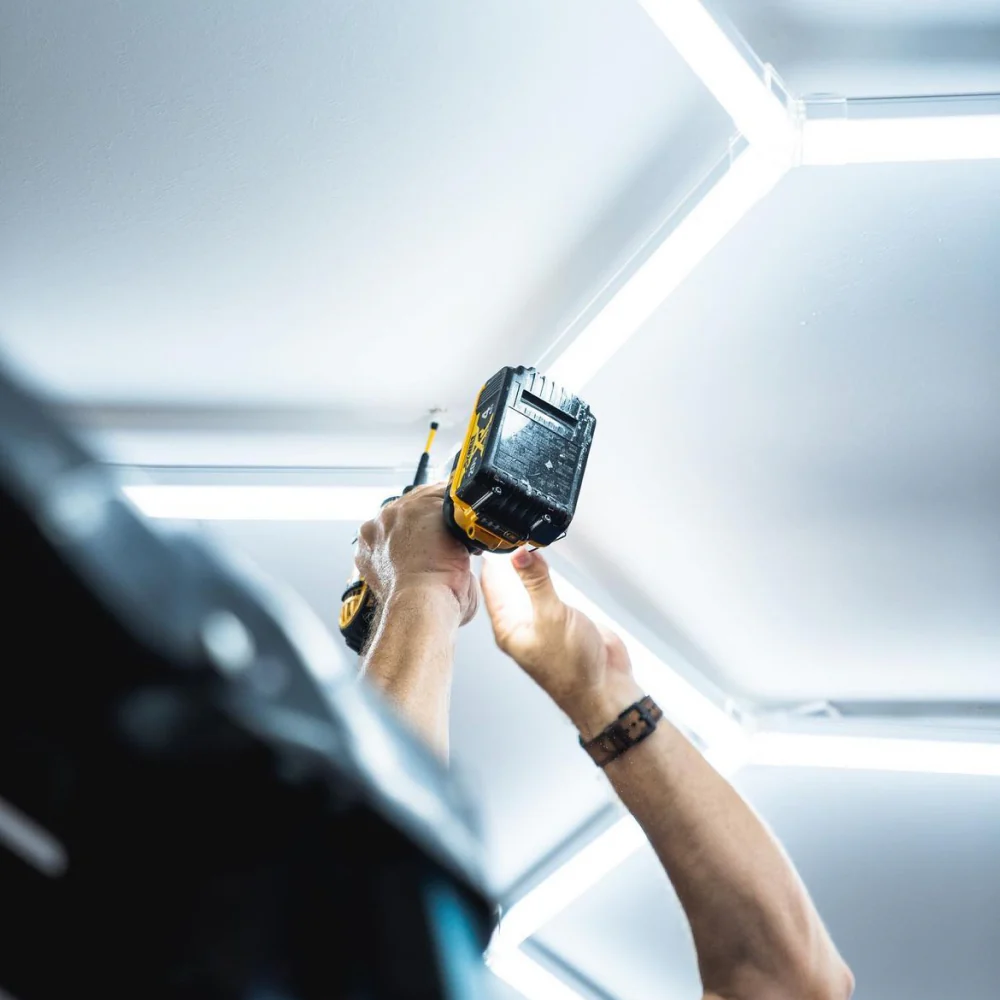
STEP 4 Mounting Your Lights
Once you've tested the structure and layout of your hexagon ceiling light, it’s time to mount your grid:
Wall or Ceiling Mount: Use built-in screw slots on the connectors to affix securely.
Use a Spirit Level: Ensure a flat and aligned installation, especially important for hexagon garage lighting.
Get Assistance: For large grid systems, it’s best to have a second person help with alignment and holding panels.
STEP 5 Powering Your Hexagon LED Lights
Use the power adapter included with your led hexagon lights. Plug it into a standard socket or work with a licensed electrician if hardwiring into your garage lights setup. Always follow the instructions and check polarity before turning the system on.
STEP 6 Pro Installation Tips
Begin from a central point or corner when building your hexagon lights garage system.
Do not overtighten screws or apply pressure to avoid damaging connectors.
Align all segments before screwing to ensure geometric precision.
When connecting the light tube to the connector, tilt the tube at a 45-degree angle with the cover facing downward for easier installation.
Hide wires with channels or adhesive clips for a clean LED residential garage lights finish.
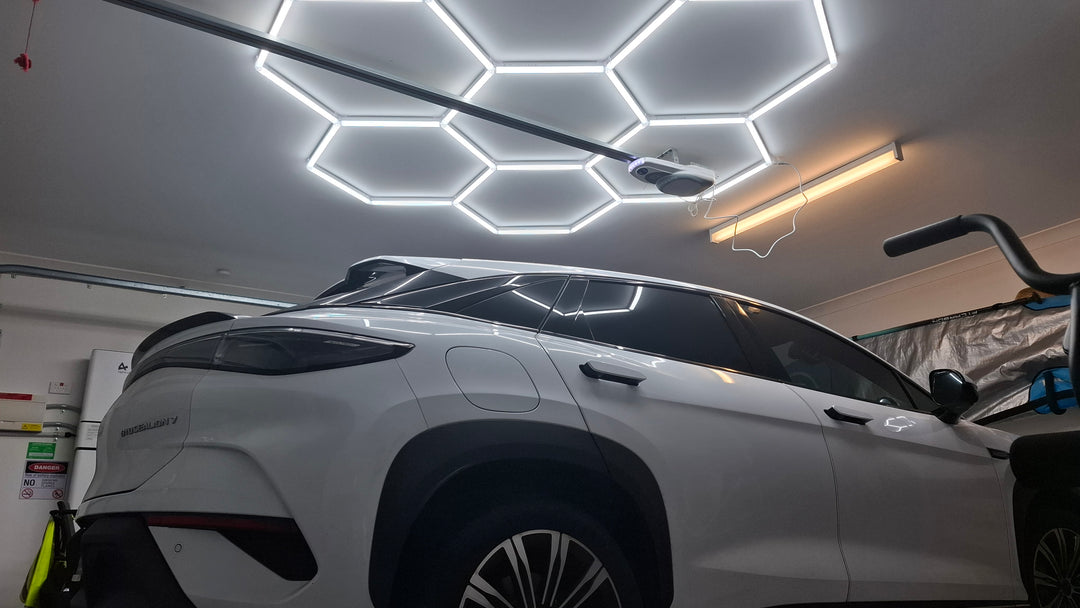
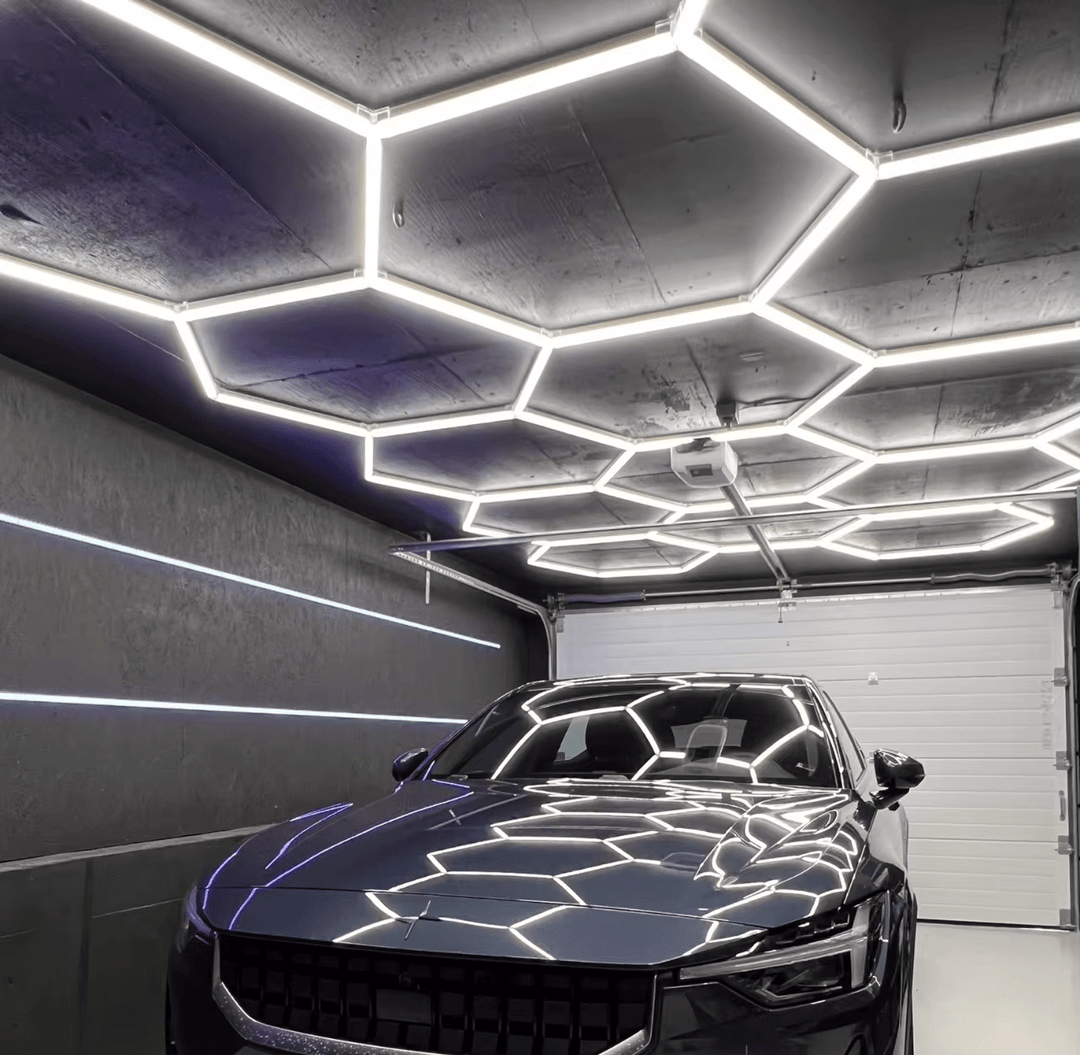
Ready to get started? Explore our Colletion


WHAT OUR CUSTOMERS ARE SAYING
“HOLY WOW — THESE LIGHTS ARE BRIGHT!”
“Spent a Sunday morning setting these up, and wow — the difference is insane. Bright, clean light and no shadows anywhere.”
— Damian R. ★★★★★

Verified Review
“The best lighting upgrade I’ve made to my garage!”
“Installation was super easy. The brightness is insane — feels like a premium showroom now.”
— Rocco ★★★★★
Got Questions About Installation?
Our standard hexagon lights tubes are L 440mm* W 20mm* H 38mm and made from aluminum + polycarbonate. It runs at 6W per tube, has a brightness of 110–120 lm/W, supports 110V–240V, and is IP54-rated for splash and dust resistance.
Yes! Insert the tube at a 45-degree angle, with the cover facing downward. This makes it much easier to connect securely. Remove protective film on each tube, do not assemble forcefully and test before installation!
Not at all. Our lights are only 38mm thick and fit easily between garage door tracks. No impact on door operation.
Just send us your garage dimensions — we’ll create a free layout design and recommend the best hex lighting kit size.
Still have more questions? Visit our full FAQ page for answers about installation, custom orders, shipping, returns, and more.